
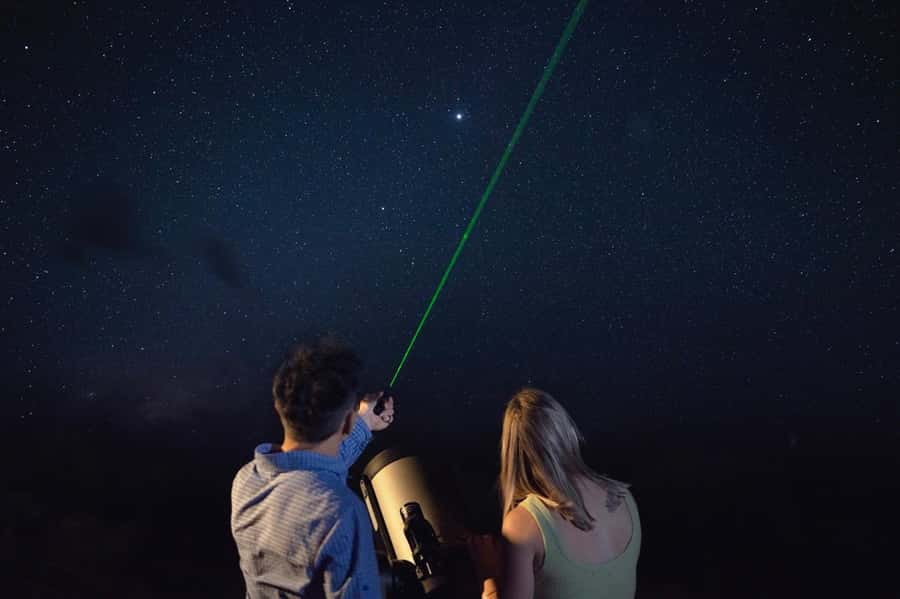
REVIEW · OBSERVATORY & TELESCOPE TOURS
Uluru: National Park Astronomy Tour with Telescope and Photo
Uluru is impressive by day, but the real surprise comes after sunset, when the desert turns into a dark viewing room for the Milky Way. This tour takes you away from resort lights, sets up telescopes beneath the open sky, and adds a professional portrait with Uluru in the background.
I especially like the clear mix of science and Indigenous astronomy, plus the practical help with phone photography. The included digital photo is not just a record of the night. It gives you a proper portrait that would be hard to create on your own. The main drawback is group size: busy departures can mean queues for the telescopes and a long wait for the photo.
Key points
- A dark-sky setting near Uluru: The bus takes you beyond the resort lights into the National Park.
- Telescopes show more than your eyes can: Depending on the night, you might see planets, nebulae, star clusters, Saturn’s rings, or other distant objects.
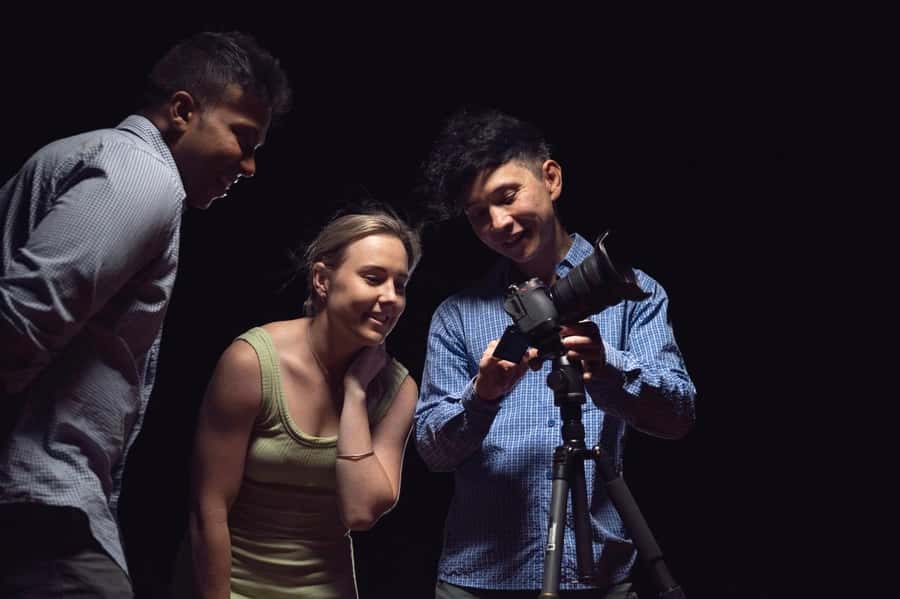
- Guides make the sky easier to read: Neil, Lucy, Zack, Olina, and other guides have led talks using lasers, stories, and simple explanations.
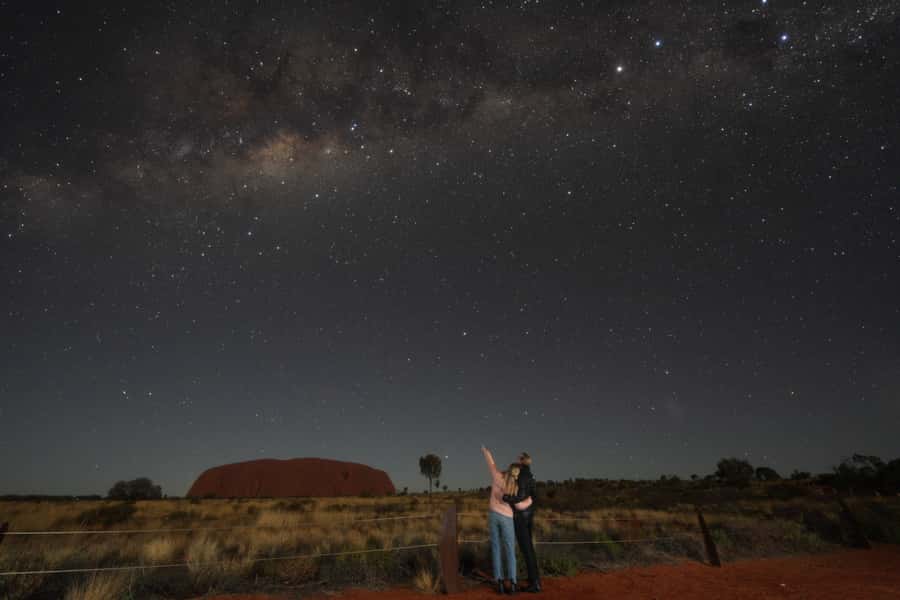
- A professional portrait is included: You receive a digital long-exposure photograph with Uluru and the stars behind you.
- Cold weather matters: Blankets are supplied, but you should still bring warm layers, even in the warmer months.
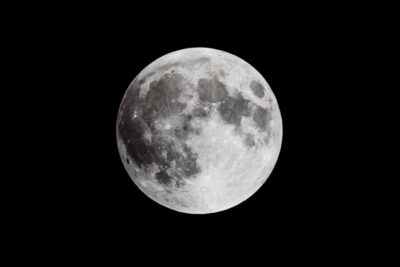
- The moon can change the show: A bright moon makes the scenery attractive but can wash out many stars.
Why Uluru looks different after dark
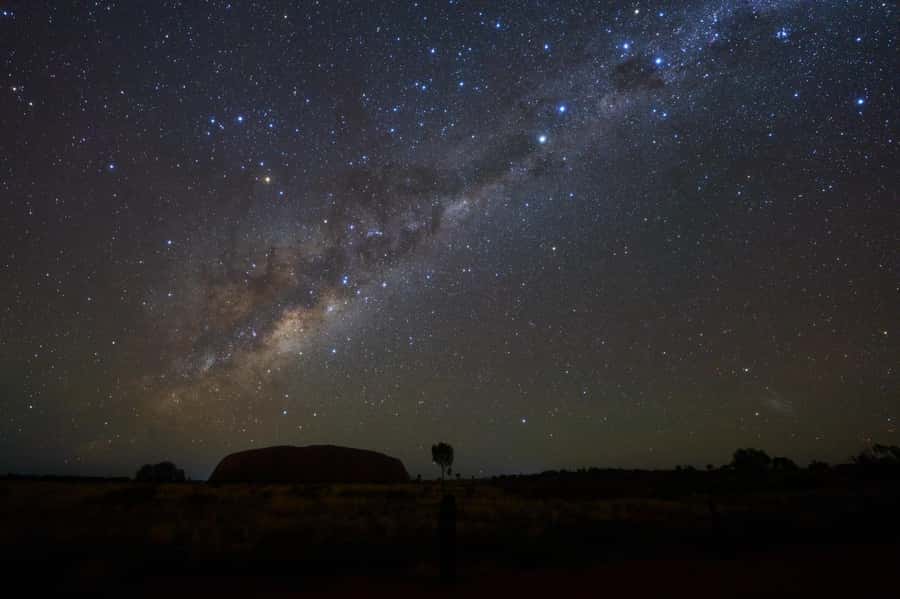
During the day, your attention stays fixed on the red rock. At night, Uluru becomes a dark outline beneath a much larger show. Away from the lights around the resort, the sky is full of stars, and the Milky Way can appear as a broad band rather than a faint smudge.
That change in scale is the heart of the experience. You are not simply looking through a telescope at an isolated planet. You are sitting in the Australian outback, with Uluru behind you and the Southern Hemisphere sky overhead.
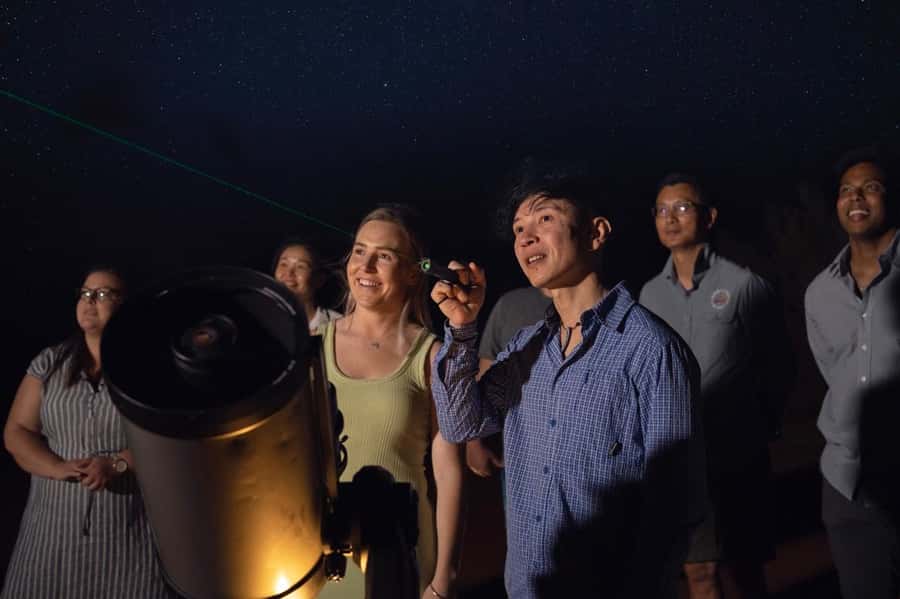
The setting also gives the guides something meaningful to explain. The talk combines basic astronomy with Indigenous stories and the practical use of the night sky. Guides have used laser pointers to locate stars and constellations, then connected them to stories, travel, seasons, and daily life.
I like this format because it helps you remember what you are seeing. A list of star names can vanish from your head quickly. A story tied to a group of stars gives you a better chance of finding it again later.
More Observatory and Telescope Tours in Australia:
- Blue Mountains: Stargazing with a Telescope and Astronomer
★ 4.4 · 21 reviews - Brisbane: Glow Worms, Sunset, Telescope Stargazing & Dinner
★ 4.0 · 15 reviews - Brisbane/Gold Coast: Sunset, Dinner, Stars/Premium Telescope
★ 5.0 · 2 reviews
The 150-minute outing from resort pickup to return
Pickup is included from your accommodation. Look for the Atrip bus, and check your email on the day for the confirmed pickup time. The drive to the viewing location can take about 20 minutes from the resort, according to the tour information and recent timing reports.
You do not need to bring your own National Park Pass. That saves one small bit of planning, especially if you are fitting this activity between a sunset visit, dinner, and an early morning outing.
The full experience lasts 150 minutes, including transport and the time under the stars. That is long enough to make the journey worthwhile, but it is not an all-night astronomy camp. If you want hours of silent stargazing, this will feel structured and fairly brisk.
At the site, folding stools or benches are provided, and blankets may be available when the temperature drops. You should still bring warm clothing. The desert can feel surprisingly cold after sunset, with one spring participant describing conditions as close to 10 degrees Celsius. Closed-toe shoes and a reusable water bottle are sensible choices.
The site is dark, so take care while walking between the bus, seating, telescopes, and photography area. One useful improvement would be more lighting along that short walk. You should not expect bright lights, since darkness is the point, but a little extra guidance underfoot would help.
Reading the Southern Hemisphere sky with the guides
The guide talk is the backbone of the evening. Names such as Neil, Lucy, Zack, and Olina appear repeatedly in the experience, and the guiding style seems to vary a little by person. The common thread is an easygoing approach, clear explanations, and plenty of time for questions.
You do not need an astronomy background. Beginners can follow the laser-pointer presentation, while people with more experience can ask about planets, constellations, deep-sky objects, and the Southern Hemisphere sky.
I would describe the balance as more accessible than technical. One participant wanted a little more science, while another found the statistics slightly beyond their level. That tells you what to expect: the talk aims to interest a mixed group, not train you as an astronomer.
The Indigenous astronomy element adds depth. Guides share traditional stories and explain how the sky has been read and used by Aboriginal people. The quality of this section depends partly on the guide and the night’s pacing, but it is an important part of the tour rather than a quick add-on.
You will also have time simply to look up. That matters. A good stargazing session needs pauses between explanations, and the best moments may come when the guide stops talking and you notice the Milky Way, a meteor, or a constellation you can now identify.
What you can see through the telescopes
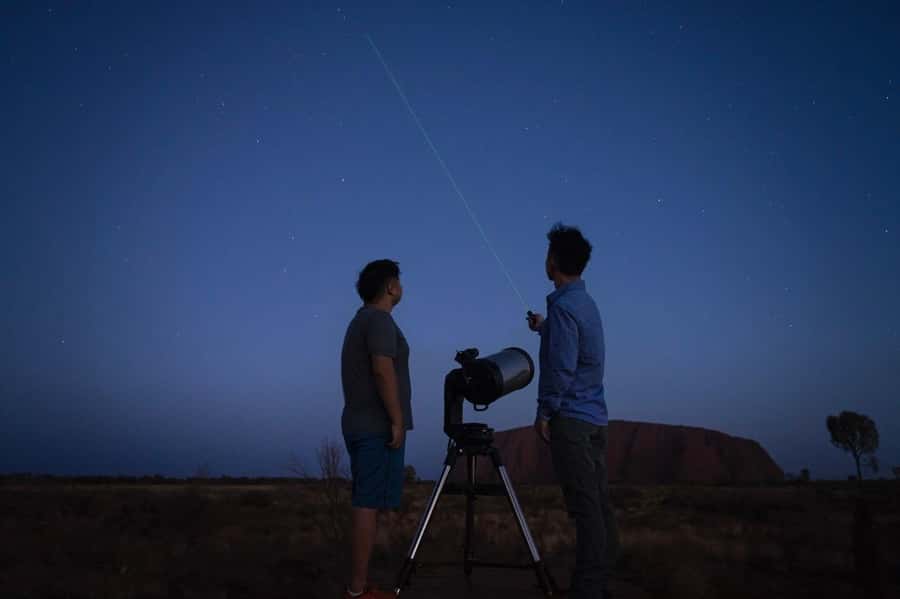
The telescopes make the night more than a naked-eye star show. The guide points each instrument toward selected targets, and you take turns looking through the eyepiece. Depending on the season, moon phase, cloud cover, and equipment setup, you might see planets, nebulae, clusters, or other distant objects.
Saturn’s rings have been a highlight for many people. The moon can also look striking through the equipment, and some evenings have produced views of objects such as Pluto, Alpha Centauri, the Seven Sisters, and nebulae. Those sightings should not be treated as a fixed promise. Astronomy changes by date and conditions.
The telescopes are especially useful if you have never looked through one before. You can see how much more detail appears when a guide selects and focuses on a target. Binoculars are also used, which helps spread the viewing opportunities around the group.
Here is the practical weakness: there may be only a few telescopes for a large departure. One report described two full buses sharing three telescopes, and another noted a long wait. The queue can reduce your relaxed time at the eyepiece.
The operator could improve this by adding another telescope or splitting large groups into smaller sessions. Still, even if you spend only a short time looking through the equipment, the wider sky talk and naked-eye viewing remain the main event.
More National Park Stargazing in Australia:
- Pinnacles Desert: Sunset BBQ & Stargazing Tour +Sandboarding
★ 4.8 · 1,555 reviews - Pinnacles Desert Sunset Dinner and Stargazing Tour
★ 5.0 · 1,034 reviews - From Perth: Pinnacles Sunset and Stargazing Tour with Dinner
★ 4.7 · 803 reviews - Pinnacles Sunset Stargazing Dinner Experience Small Group Tour
★ 4.5 · 396 reviews
Group size, waiting, and the rhythm of the evening
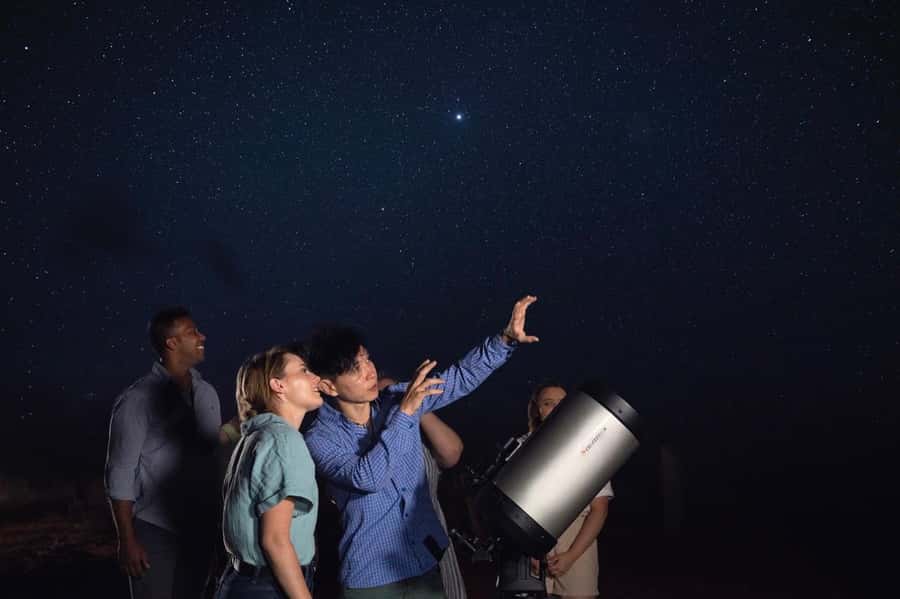
This is not a private stargazing session. Some departures can be large, with two buses and several dozen people spread around the viewing area. That makes the tour social and efficient, but it also creates waiting.
The telescope line is one issue. The photo line is another. A long-exposure portrait takes time, and each person or small group needs to settle into position and remain still. On a crowded evening, the photo queue has taken 45 to 60 minutes.
That wait can feel long when you are cold or eager to return to the telescopes. It also means the stated 150 minutes may feel divided into sections rather than one continuous astronomy session.
You can make the most of it by treating the waits as part of the open-sky time. Bring a warm layer, use the blanket, keep looking up, and listen for meteors or new constellations. It is also worth deciding before your turn who will be in the photograph. Groups that debate the arrangement on the spot slow the line for everyone.
If you prefer quiet, small-scale guiding, ask about group size before booking. If you are happy with a shared outing and want transport, equipment, interpretation, and a finished photo in one package, the format is easier to accept.
The professional photograph with Uluru behind you
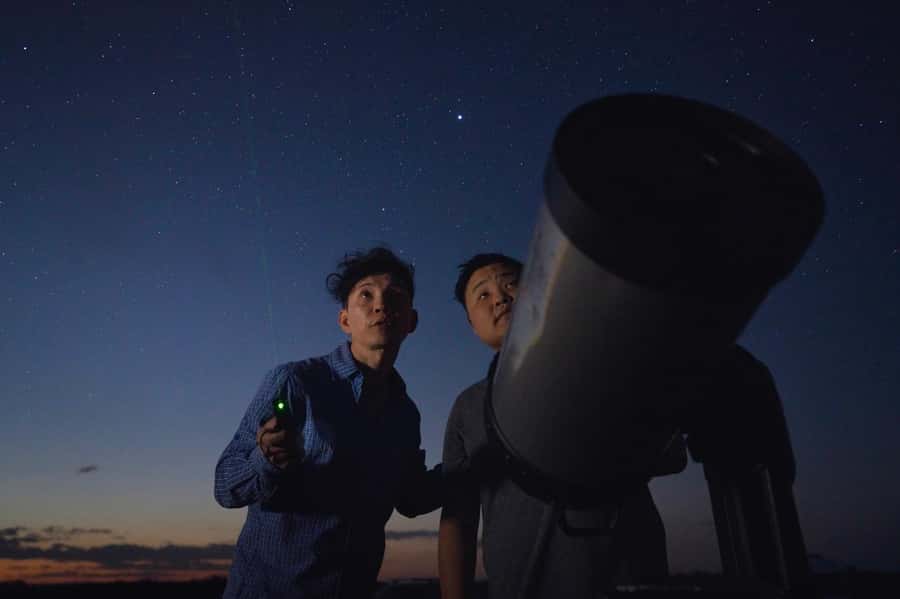
The included photo is one of the strongest practical reasons to choose this tour. Night photography is difficult, especially when you want both people and a landmark to appear clearly. A phone may capture stars, but it rarely produces a polished portrait with Uluru visible behind you.
The photographer uses a long exposure to show the sky and the people in the foreground. The result is a digital image for download, and several participants found it good enough to print or frame.
The photo is taken during the tour, not at a separate studio stop, so it feels tied to the setting. You are standing under the stars, with Uluru forming the backdrop. It gives you a keepsake that records the place, not just your faces.
There are tradeoffs. One photo is included per individual, and the process can take time when people are arranging family groups. Clarify your preferred combination before reaching the camera. If you are traveling as a couple or family, you may want to know how the included image is handled for your group.
The download may not arrive instantly. One participant was still waiting several days after the tour, so keep that possibility in mind before worrying that the file has vanished.
Bringing your own camera and phone
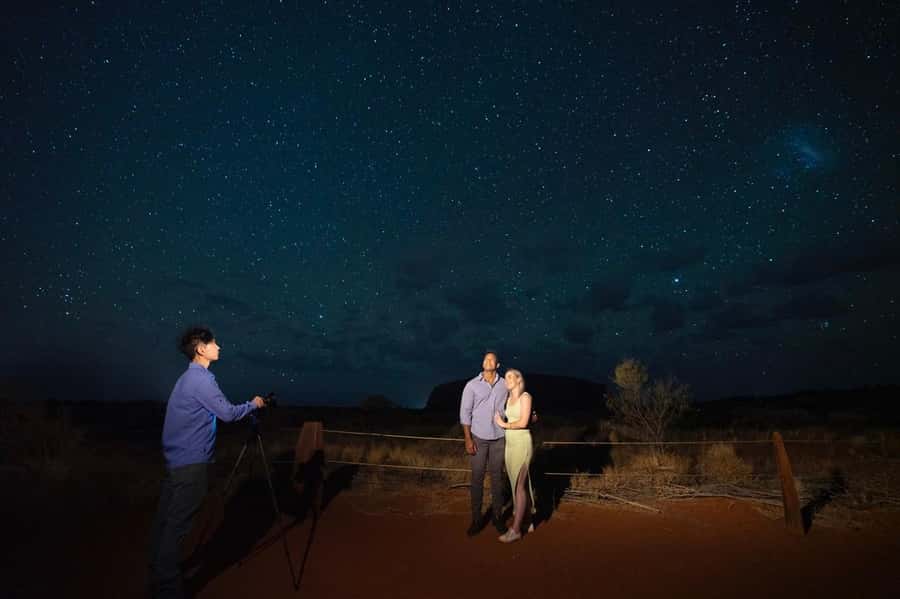
You are welcome to bring a camera and tripod if you want to try astrophotography. A tripod matters because long exposures need the camera to remain still. The open sky and low artificial light give you a strong setting for experimenting.
You can also try a phone, but prepare before you leave. Guides have helped people adjust phone settings for night-sky pictures, yet the darkest conditions are not the place to learn every camera control from scratch.
A few sensible preparations:
- Charge your phone or camera fully.
- Bring a tripod if you plan to make your own star photographs.
- Wear gloves that still let you operate a phone screen.
- Use a red or low light setting if your device has one.
- Keep your screen brightness low so you do not disturb nearby people.
- Decide in advance who will appear in the professional portrait.
The guides can help, but this is still a shared tour. You may not receive a long one-to-one photography lesson.
Is $91 good value?
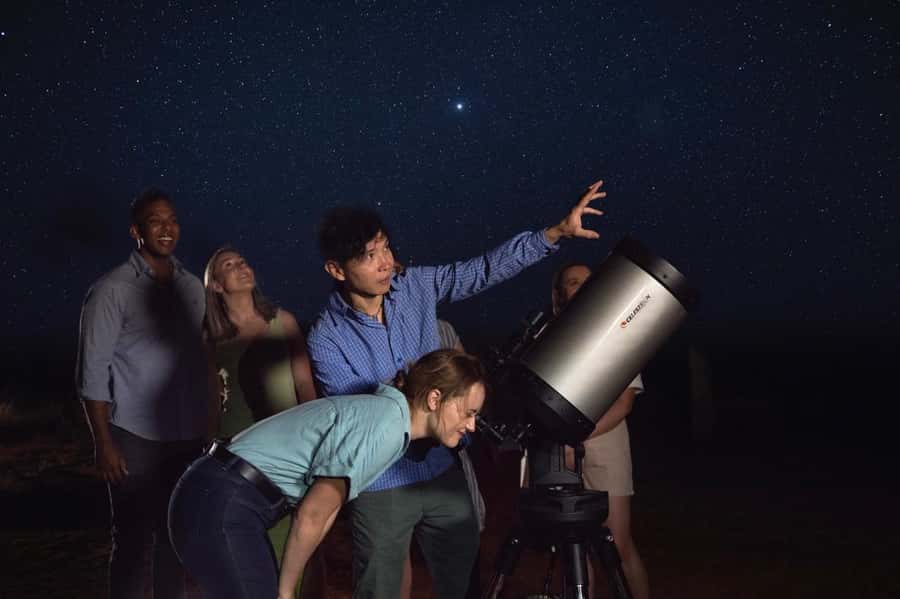
At $91 per person, the price is fair if you value the complete package. You receive hotel pickup and return, a guide, access to telescopes and binoculars, the National Park setting, the astronomy talk, and a professional digital photo.
Booking these parts separately would be difficult. You would need transport into the dark area, suitable equipment, a photographer, and some understanding of the sky. The tour places them together in one 150-minute evening.
The value is strongest for first-time stargazers, couples, families, and people without camera equipment. It is also a good fit if you have only a few nights around Uluru and want an evening activity that feels different from another sunset viewpoint.
The value is weaker for serious amateur astronomers who already own a telescope and prefer long, quiet sessions. A large group, telescope queues, and a scheduled photo stop may frustrate you.
Weather and moonlight also affect what you receive. Clear skies produce the best show. A first-quarter or full moon may make Uluru glow and improve the portrait, but it can hide faint stars and reduce the Milky Way’s impact. Clouds can delay or limit viewing as well.
Who should book this Uluru astronomy tour?
I would recommend it to beginners, families with older children, couples, and anyone who wants an easy introduction to the southern sky. Teenagers have enjoyed the mix of telescopes, stories, and a memorable photo, while young children can take part if they are comfortable sitting outside after dark.
It suits you particularly well if you want an experience that is both scenic and educational. You do not need to know the names of stars before arriving. The laser pointers and guide explanations give you a way into the subject.
You may want to skip it if you dislike waiting in a crowd, need a private guide, or are booking mainly to see one specific planet. Celestial targets change, and no guide can control the moon, clouds, or the exact visibility of the Milky Way.
English and Chinese guiding is available. Cancellation is free up to 24 hours before departure, and you can reserve now and pay later, which is useful when your Uluru plans are still changing.
My verdict: book it for the sky, accept the queue
I would book this tour if I had not already experienced a dark outback sky. The combination of Uluru, Southern Hemisphere stars, telescopes, Indigenous astronomy, and a professional portrait gives the evening real substance.
Go prepared for a shared group rather than a private observatory visit. Bring more warm clothing than you think you need, arrive ready to wait your turn, and check the moon phase if the Milky Way is your main goal.
For $91, it is a solid choice for a first astronomy experience at Uluru. The sky is the star of the night. The photo is the useful souvenir, and the guides give you enough context to make sense of what you see.
FAQ
How long does the Uluru astronomy tour last?
The experience lasts 150 minutes, including the evening activity and transport to and from your accommodation.
Is hotel pickup and drop-off included?
Yes. Pickup and return transport are included. Look for the Atrip bus, and check your email on the day for the confirmed pickup schedule.
Do I need to bring a National Park Pass?
No. You do not need to bring your own National Park Pass for this tour.
What languages are available?
Live guiding is available in English and Chinese.
What should I bring?
Bring warm clothing, closed-toe shoes, and a reusable water bottle. A camera and tripod are optional if you want to try your own night-sky photography.
Is a photo included in the price?
Yes. A professional digital photograph is included, taken with the stars and Uluru behind you.
Just added around Australia
- Blue Mountains: Stargazing with a Telescope and Astronomer★ 4.4 · 21 reviews
- Vincentia: Jervis Bay Beach Stargazing with an Expert★ 4.9 · 19 reviews
- Gold Coast: Glow Worms, Sunset & Stargazing with BBQ dinner★ 4.5 · 3 reviews
- Kalbarri Stargazing Tour★ 5.0 · 7 reviews
- Kalbarri Skywalk Sundowner and Stargazing Tour★ 5.0 · 6 reviews
- Brisbane: Glow Worms, Sunset, Telescope Stargazing & Dinner★ 4.0 · 15 reviews
- Kalbarri Skywalk: Sundowner and Stargazing Tour★ 4.9 · 9 reviews
- Kalbarri Stargazing Tour★ 5.0 · 2 reviews
Observatory & Telescope Tours, compared.
Teide by Night: Sunset & Stargazing with Telescopes Experience
Read our review →
Miami: Frost Museum of Science and Planetarium Entry Ticket
Read our review →
Teide National Park: Guided Large Telescope Stargazing Tour
Read our review →
Levi: Northern Lights Tour and Stargazing by Telescope
Read our review →
Mount John Observatory Stargazing Experience, Tekapo
Read our review →
Houston Museum of Natural Sciences: Planetarium Ticket
Read our review →
Browse the lists this tour appears in